
Reverse control plate wiring for Telecaster. This is a simple yet popular setup where the control plate on your Telecaster is reversed. ie. the switch is furthest away. You can not simply turn the control plate round as the volume and tone controls will be out of position. The below wiring diagram keeps the volume and tone controls in their respective positions (from a playing point of view) whilst the switch is as far to the right as possible.
The below video shows you how to wire a reverse Tele control plate and you can follow the below wiring diagram or our step by step photo guide.

Components Used
- 1 x CRL 3 way Tele switch
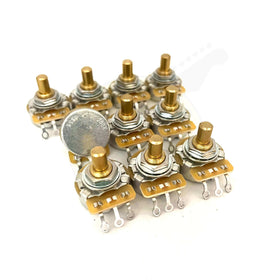
- 2 x CTS 250k solid shaft pots
- 1 x Switchcraft 1/4'' jack socket
- 1 x 0.047uF orange drop capacitor
- 2ft push cloth guitar wire
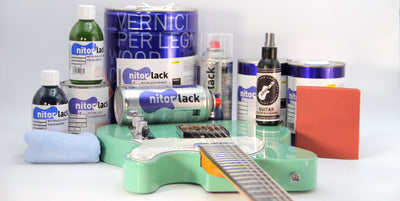
The above components are available in the form of our Tele wiring kit or individually in our guitar electronics section.
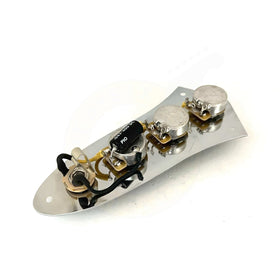
Start off by assembling the components into the control plate as per the below photo. Same as a normal Telecaster, except swap the volume and tone controls around.

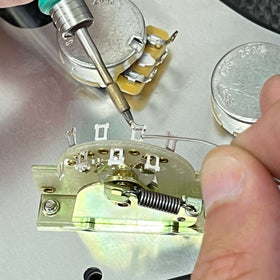
Next, we will install our capacitor from the output lug (middle) of the tone control and run this across to the third lug of the volume pot and onto the pot casing. This is an efficient way of wiring in our capacitor and grounding the relevant lug on our volume pot. Refer to the below photo.

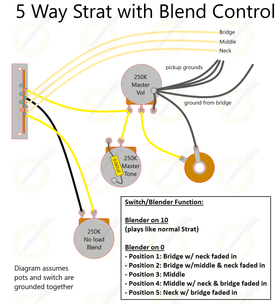
Onto the switch - familiarise yourself with the switch layout below and numbered solder lugs - they will be highlighted on photos going forward.

We will now wire our switch the same way as classic 3 way Tele wiring - run a wire from lug 1, to lug 2, across to 6 and finally down to lug 5. You can use a continuous wire as we have done in the below photos or you can connect each one individually.
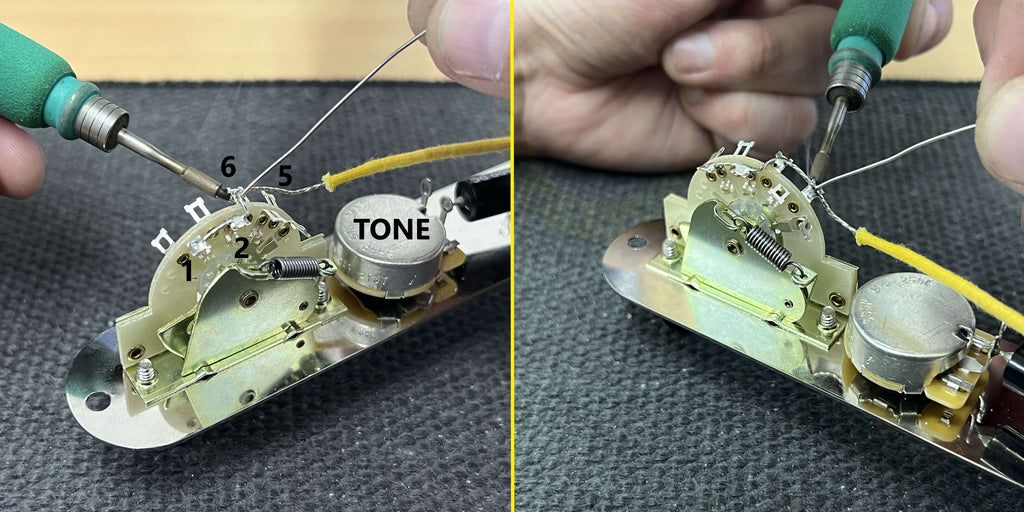
Next, solder the end of this wire to the third lug of the tone control - then connect this lug to the volume input lug (directly opposite).

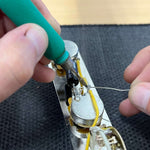
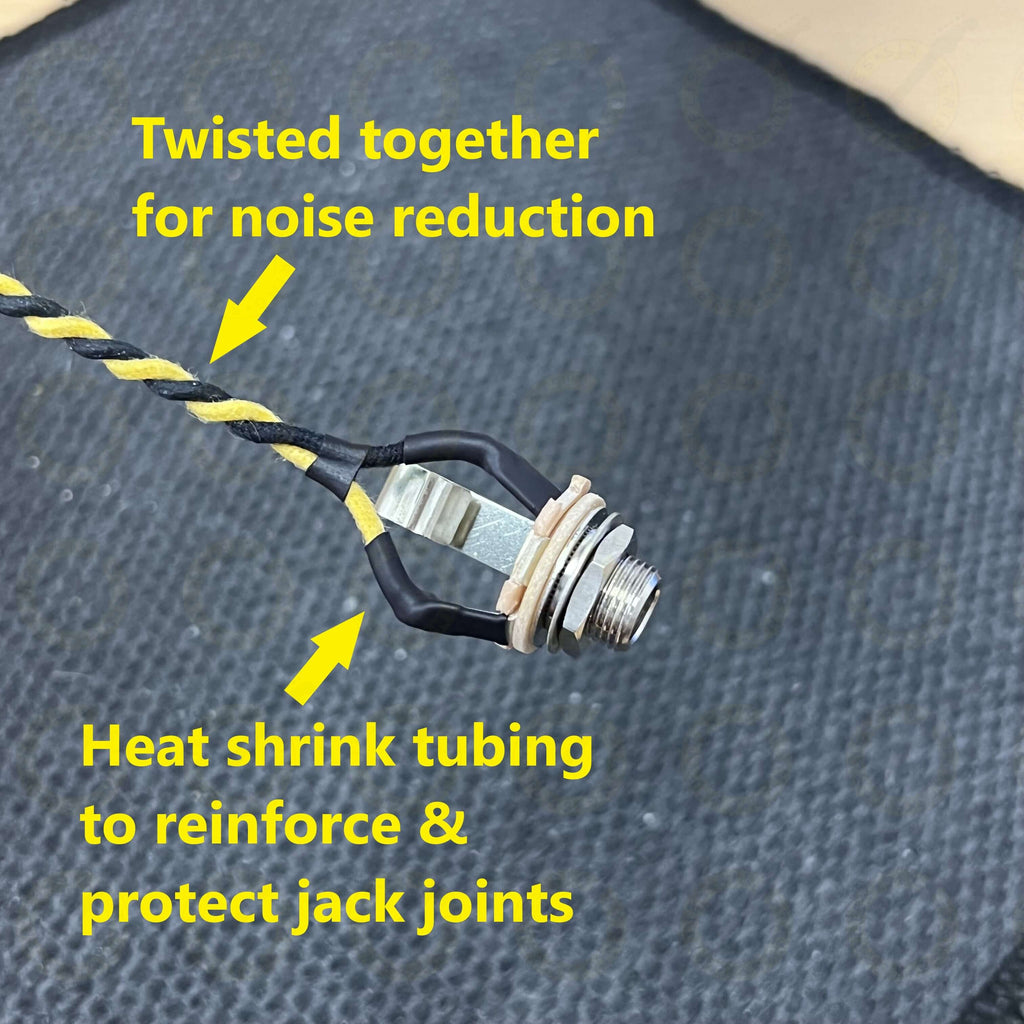
For the jack socket - be sure you solder the right lug to the right point on our circuit. The inner ring, or the sleeve, is the ground whilst the other lug, the tip, is for our signal wire.

Use whatever colour you want, but general practice is to use black as ground. Using the black cloth wire provided, bend it through the ground lug and back round, ensuring the wire is in contact with both sides of the solder lug and solder in place. Repeat this process using the cream/yellow wire to the other lug on the jack.

A good tip is to cover the joints with heat shrink tubing (simply to create a longer lasting jack socket) and to twist the ground wire tightly around the signal wire. This acts as shield and helps to reduce unwanted electro-magnetic interference.
Solder the ground wire to ground (typically on top of the pot casing, whichever is easiest for you) and the signal wire to the output (middle lug) of the volume control.

Now we're ready to put this in our guitar! It is important to ensure that we have a solid ground connection from the bridge - this means in turn the strings are grounded (if noise disappears when you touch the strings, this is the sign of a well grounded guitar). Typically on a Telecaster this is done by trapping a ground wire underneath the bridge which is secured when the bridge is screwed flat to the body.

With this is place, the other end of it just needs to be soldered onto the top of either the volume or tone control casing, along with the ground wires for both pickups. If your neck pickup has a seperate ground wire for it's cover, then this need to be grounded on the pot casing too.

Finally, we just need to connect our pickups - it is the reverse of a normal 3 way setup. Solder the bridge pickup to lug 8 on the switch and the neck pickup to lug 4.

NB:
If you wanted to have a reverse layout that only included the volume and tone controls being swapped over (ie. the switch stays exactly where it is) for volume swells with your pinkie - then follow this guide exactly, except the neck pickup would go to lug 8 and the bridge pickup to lug 4) Oh, and flip the control plate 90 degrees!

More Wiring Guides:
How to Wire a Les Paul (50s style)